Login with smartcard
As already described in the previous article on Login via NFC chip, both login with username/password and login with NFC chips have disadvantages:
Either the login data must be remembered and typed in, which can lead to them being forgotten or typed in incorrectly. Alternatively, the login data is stored unencrypted on an NFC chip. In some application scenarios this is not a problem, for example when the NFC chips are permanently attached to the tugger trains or forklifts, but in particular the time-consuming typing in of the login data is often a problem.
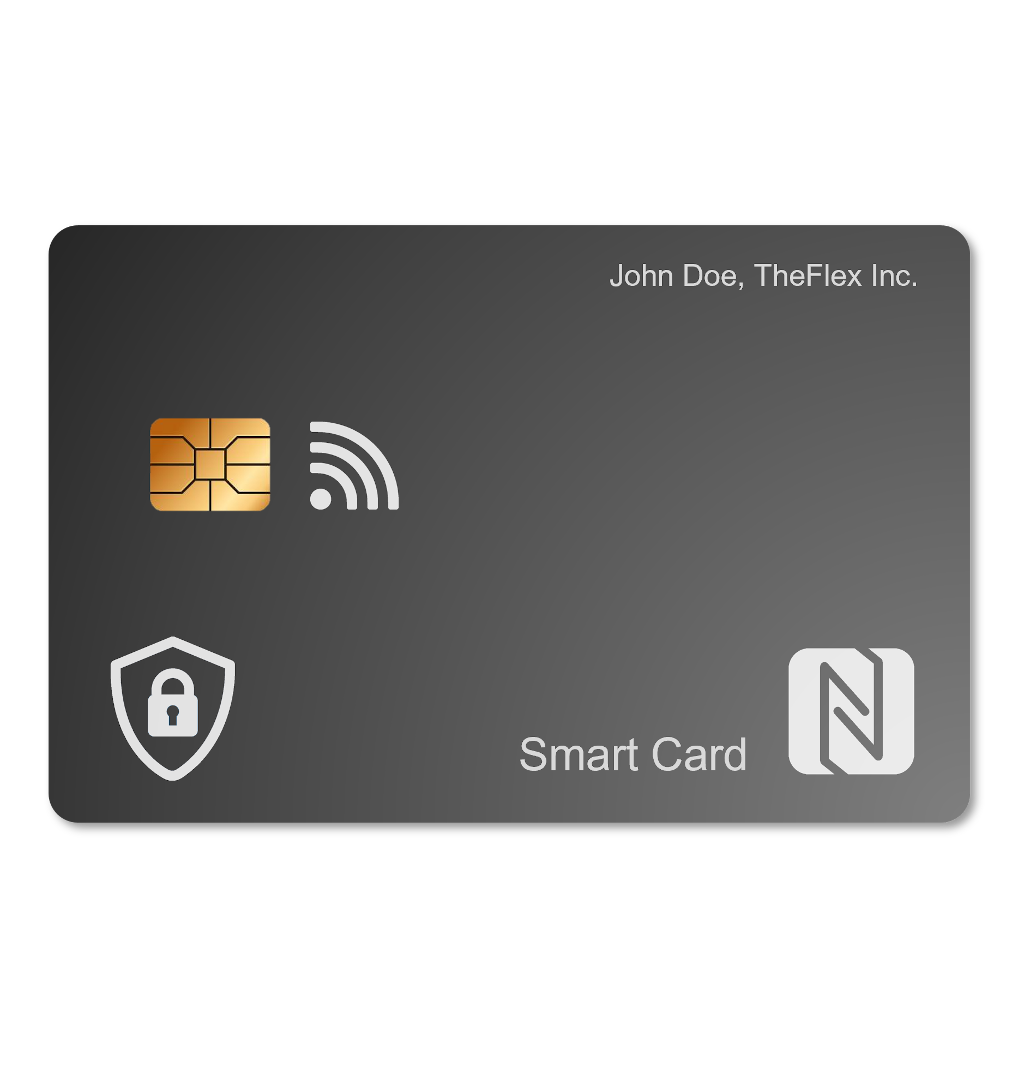
However, there is a standardized, secure procedure that solves the above-mentioned disadvantages: The smartcard. A smartcard can be thought of as an encrypted NFC chip on which a certificate is stored instead of a username and password.
One advantage of smartcards is that this certificate-based login can be activated in many systems, including SAP or Microsoft's Azure AD.
We provide a tool for writing to a smartcard, whereby all you need to do is enable this certificate-based login and write the user-specific certificates to the smartcards using this tool.
Another advantage is that these certificates are stored encrypted, which provides additional security in case of loss of a smartcard. Furthermore, the certificates do not change during the annual password change. This means that the smartcards only need to be written to once per employee.
Process for users
Once you have changed your login process from username and password to smartcards, the login process for users looks very simple:
- When opening the app or website, the user will be redirected to a login page as usual.
- Here, certificate-based login can be clicked as an additional option or as a predefined default
- A dialog appears, which asks the user to hold the smartcard to the device
- The user is logged in and redirected to the app or website
With most identity providers it is possible to still let the user enter username and password to log in. This is helpful in case users have lost or forgotten their smartcard.
Process for IT administrators
Smartcards significantly simplify the process for users, but add additional responsibilities and effort for IT administrators. The following points describe the process for using smartcards for the login process:
1. Create root certificate
For certificate-based login, a root certificate is required. Here, either a new certificate can be created or an existing one can be reused. Personal login certificates can be created with this root certificate. This has to be done only once.
Details are in the article Certificates in the section How can I create a new root certificate?.
2. Import root certificate
The root certificate must be imported into the Identity Provider. This allows the Identity Provider to validate all personal login certificates using the root certificate. This must be done only once.
Details are in the following articles:
- How can I import a root certificate into SAP?
- How can I import a root certificate into Microsoft Azure?
3. Enable certificate-based login
The certificate-based login must be enabled in the Identitiy Provider such as SAP or Microsoft Azure AD. After this has been enabled, users can log in not only with username and password but also with personal certificates. This has to be done only once.
Details are in the following articles:
- How can I enable certificate-based login in SAP?
- How can I enable certificate-based login in Microsoft Azure?
4. Create personal login certificates
A personal login certificate must be created for each user. This file will be used in the future instead of the username and password combination for login. This must be done for each user once or after the certificate expires.
Details in the Certificates article in the How to create personal certificates for login section.
5. Import personal certificates
The personal certificates must be imported into the Identity Provider and assigned to users. This assigns which user can log in with which certificate.
For details, see the article Certificates in the section How can I import a personal certificate into SAP?.
6. Writing personal certificates to smartcards
The personal certificates need to be written to the smartcards so that users do not need to upload the file when logging in, they just need to hold their smartcard to their smartphone or tablet. This is the advantage of TheFlex as it takes care of reading, decrypting and uploading the certificate from a smartcard.
Details in the article Smartcards in the section How can I write to my smartcards?.
7. Import the configuration of the SmartCard in the TheFlex Browser
The configuration including the password must now be imported in the settings of the TheFlex Browser. This is necessary so that the encrypted certificate can be read from the SmartCard, decrypted and transmitted to the identity provider.
To simplify this process, the QR code from the Java program used to write the certificates to the SmartCard can be scanned in the settings via flexkey configurations / Import.
Advantages of smartcards
- Very easy to use for users
- Very fast logins for users
- No more forgetting of passwords
Disadvantages of smartcards
- Initial effort necessary, which often also has to be approved separately by the IT department
- New users must be provided with personal certificates and physical smartcards