Setup in 2 minutes
As soon as TheFlex has been installed on the smartphone, the initial setup can start. This is deliberately kept short so that the app can be tested within two minutes and is ready for use.
When you open it for the first time, a permission query appears. TheFlex needs permission to access photos and media on this device. This is necessary because all settings are stored locally in a settings file. This permission is required to write and read this file.
Manual configuration
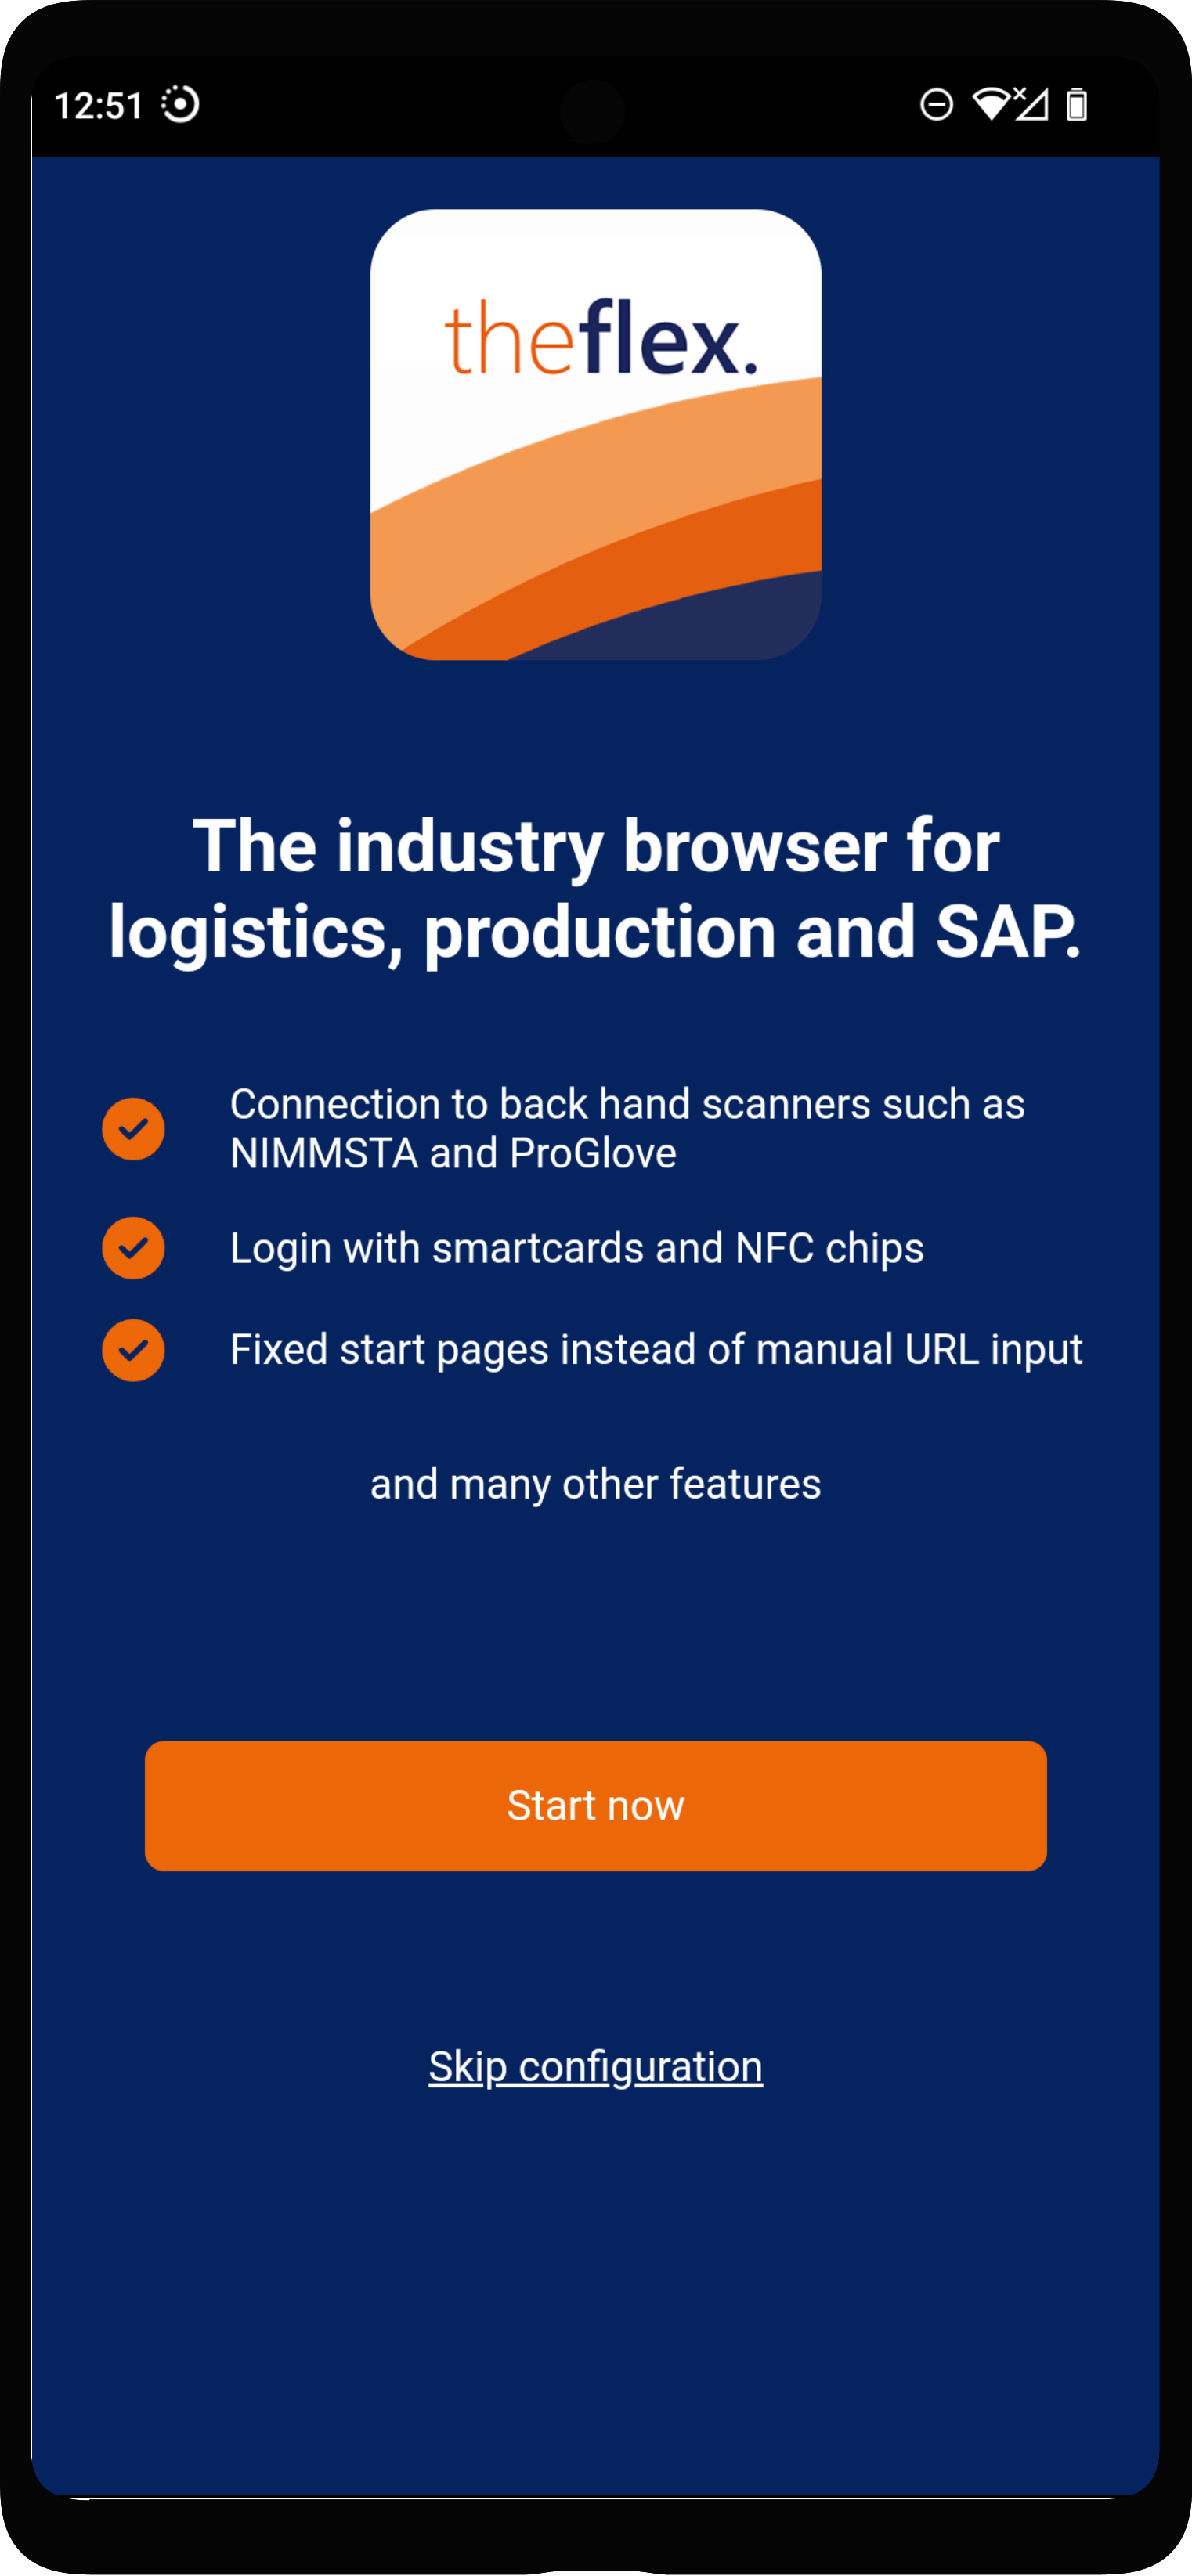
The first way to get started with TheFlex is to configure the app manually. The first time you start it, a short tutorial opens. This tutorial can be started via the Start now button; it takes a maximum of 30 seconds.
1. Define a start page
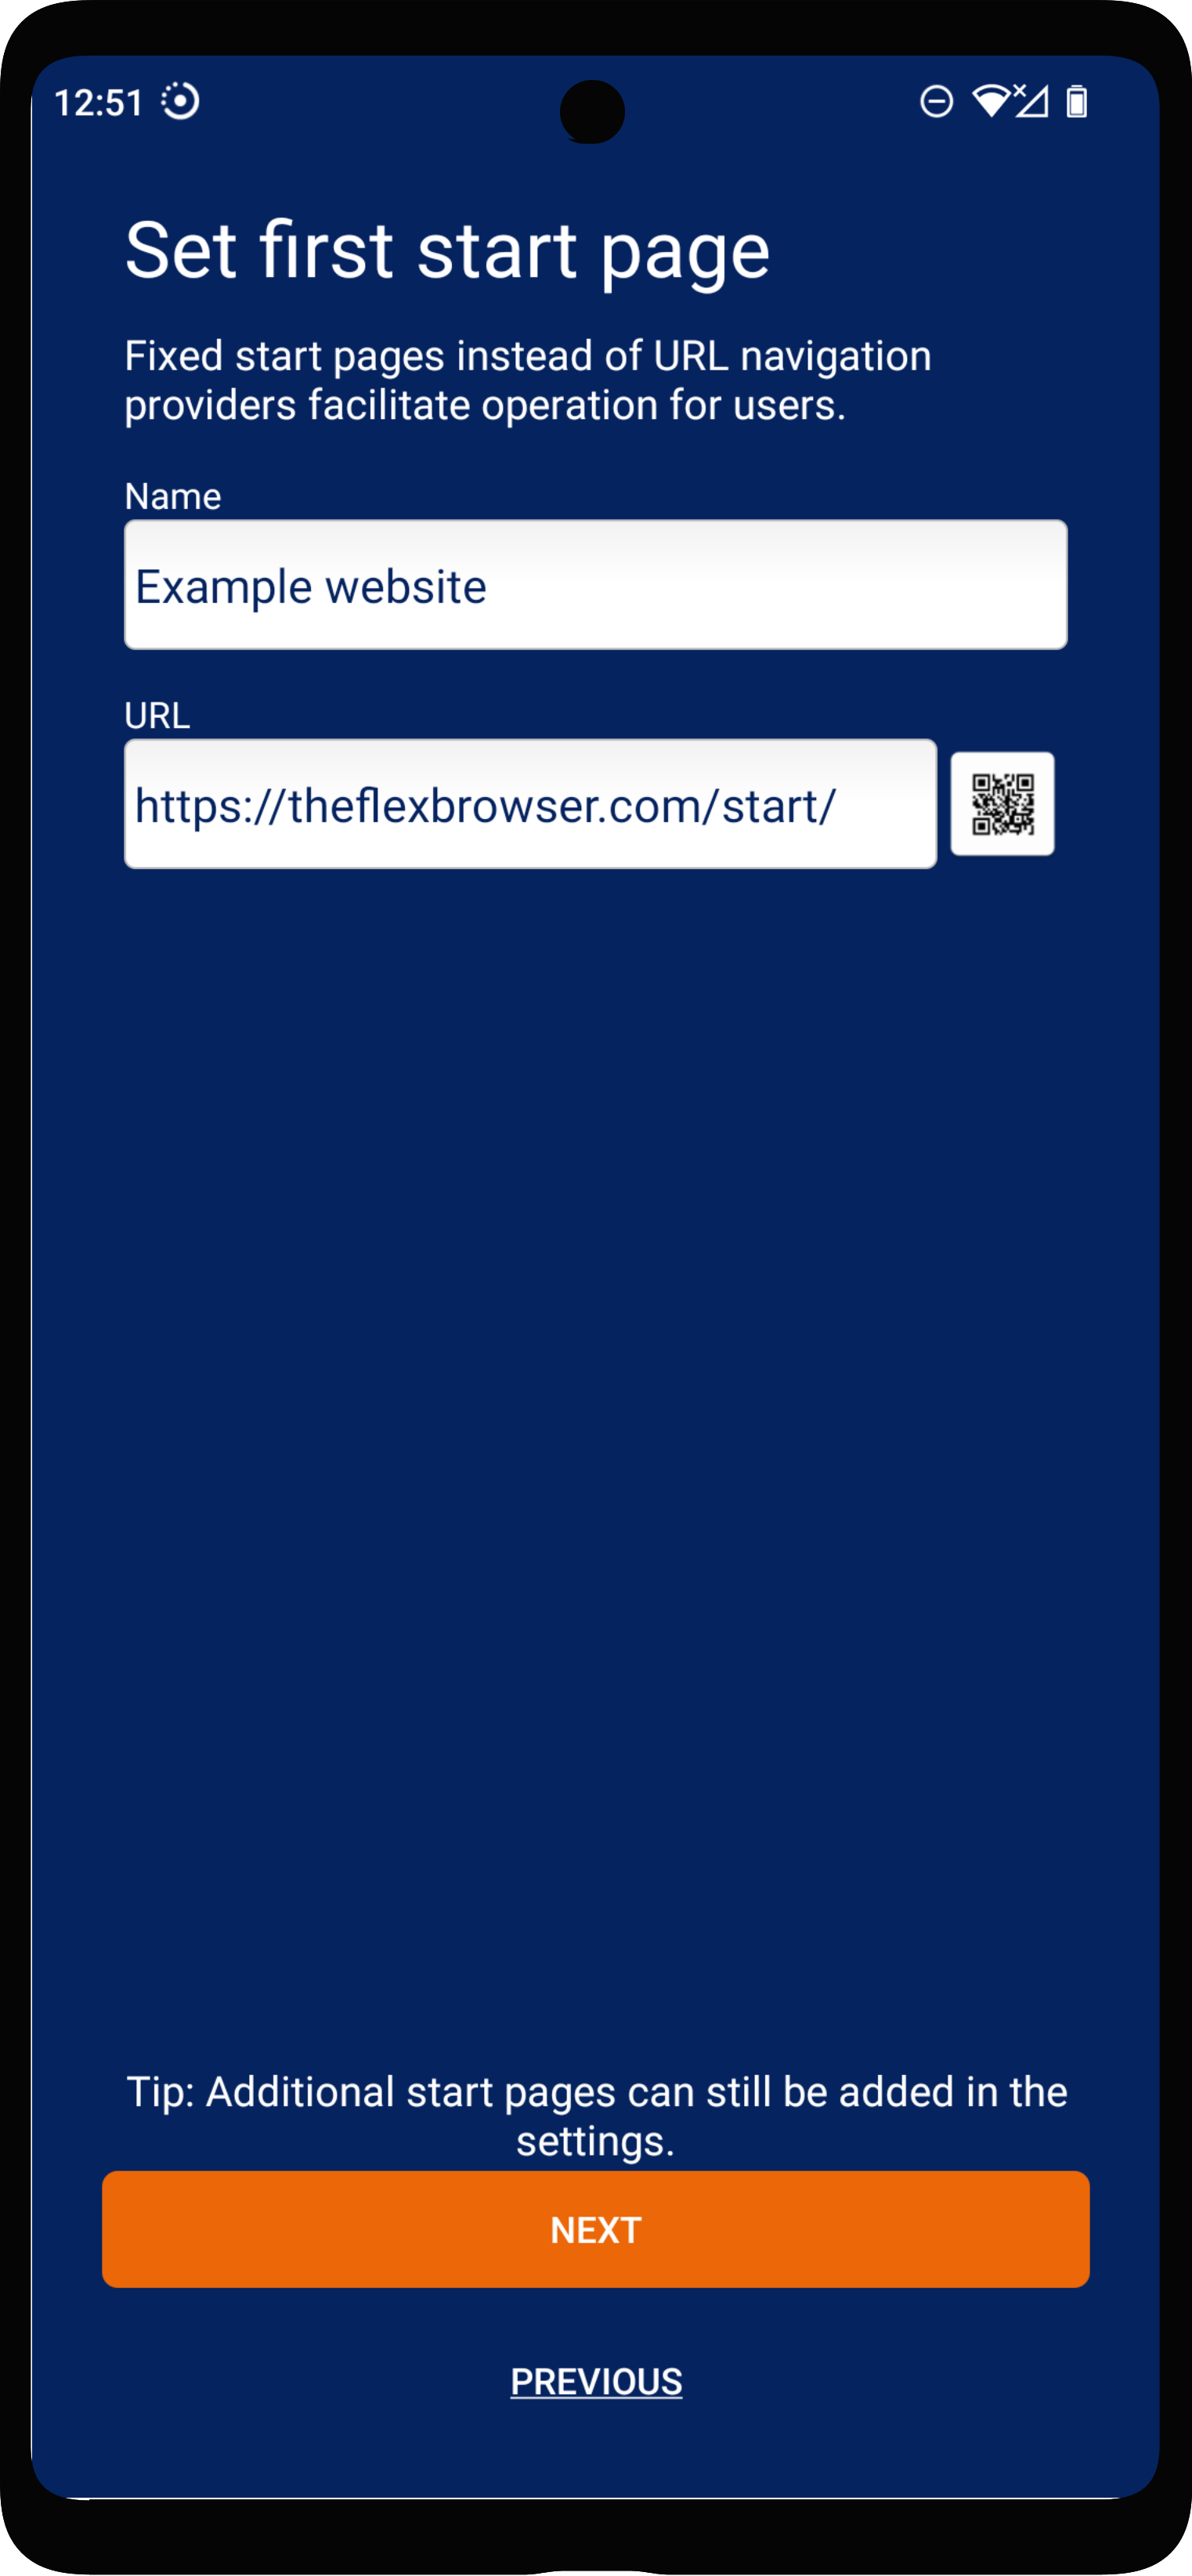
One of the most important settings in TheFlex are home pages. Unlike usual browsers, there is no URL input field. Instead, administrators can centrally pre-configure these home pages. Since the device is configured manually in these instructions, you can define the start page yourself. A descriptive name of your choice and the URL can be entered for this purpose.
Here is an explanation of the individual input fields:
- Name: Descriptive name of the start page, is displayed to the user.
- URL: The URL of the website or Fiori app to open. Note: The URL can also be scanned using a QR code.
For the first test, it is advisable to enter a URL that you are sure can be reached from the device. This can be the Fiori launchpad or the company intranet if the smartphone is in the company network. Otherwise, any public URL can be used, for example https://www.google.de
After the first start, a demo app can be started via the setting, with which, for example, the behavior of a SAP Fiori app with backhand scanners can be simulated.
2. Start a trial period
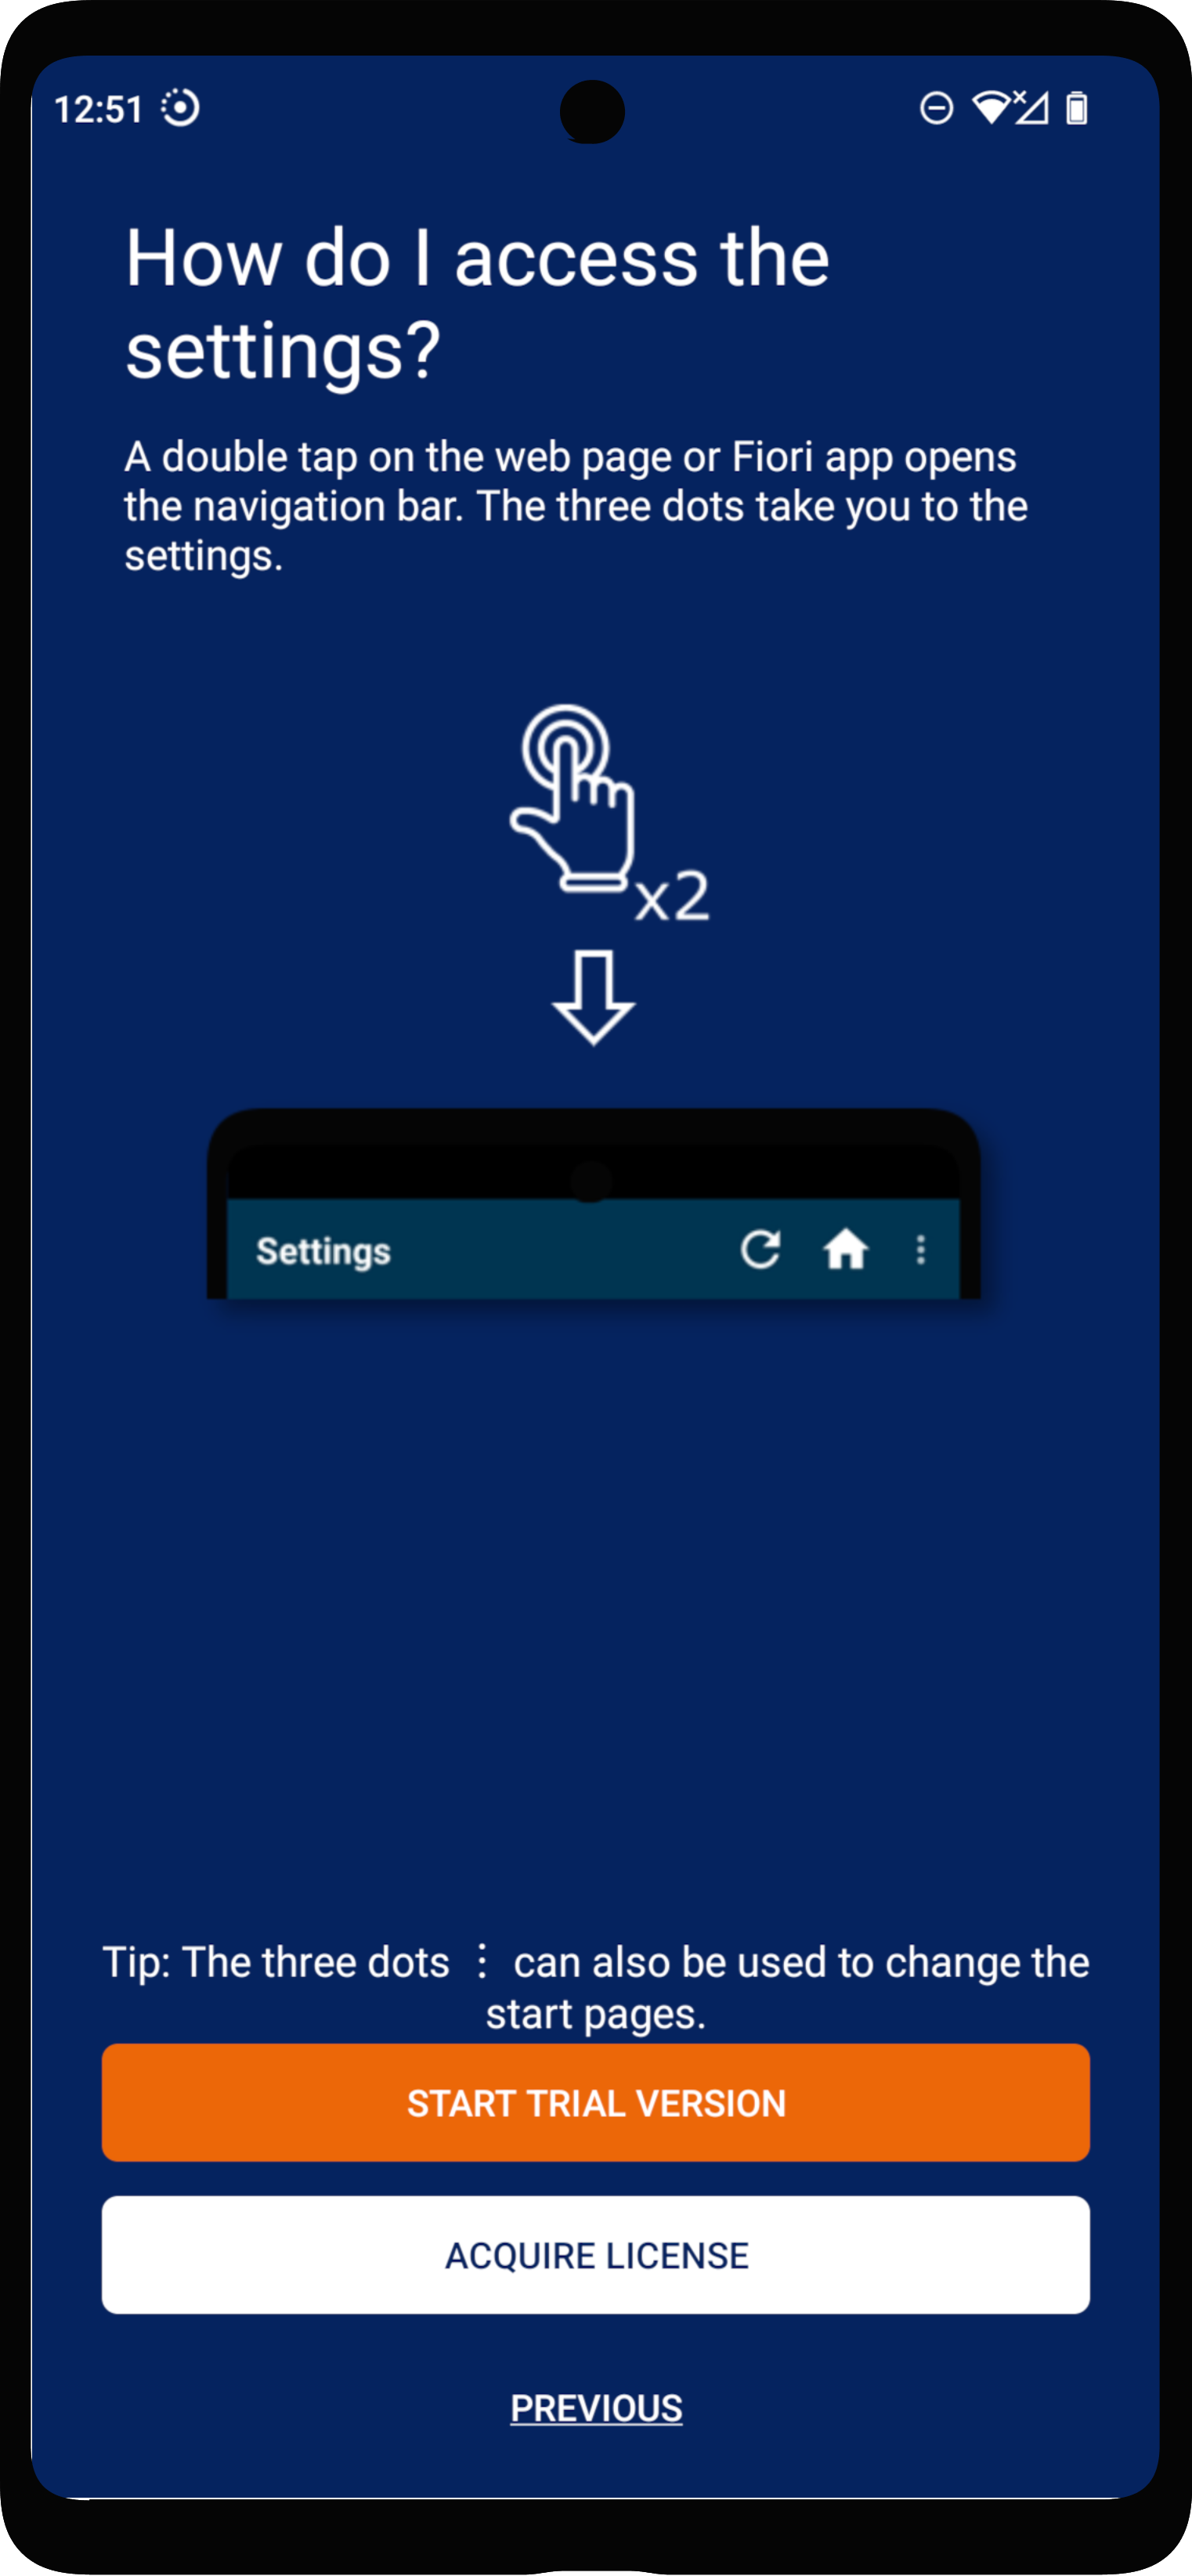
The one-week test period can now be activated for testing by clicking the Start trial version button. TheFlex can then be used with the previously configured start page.
More information on licensing can be found in the article on licensing.
Detailed descriptions of all features are also described in this documentation under the second section Features.
Configuration via QR code
Alternatively, TheFlex offers the option of exporting settings to a QR code and importing them again. When starting for the first time, Skip configuration and then Import settings can be selected. The following QR code can be scanned as an example. Some start pages are maintained as a demo.

Of course, these settings can be changed afterwards.


